field report The Green Room
Recording Guests on Location: Hotel Rooms, Offices, Expo Floors
Hotel rooms, corporate conference rooms, and expo floors each break audio in their own way. Notes from recording guests outside the studio, and the kit that keeps a location interview usable.
Hotel Rooms: The Closet Trick and What Actually Helps
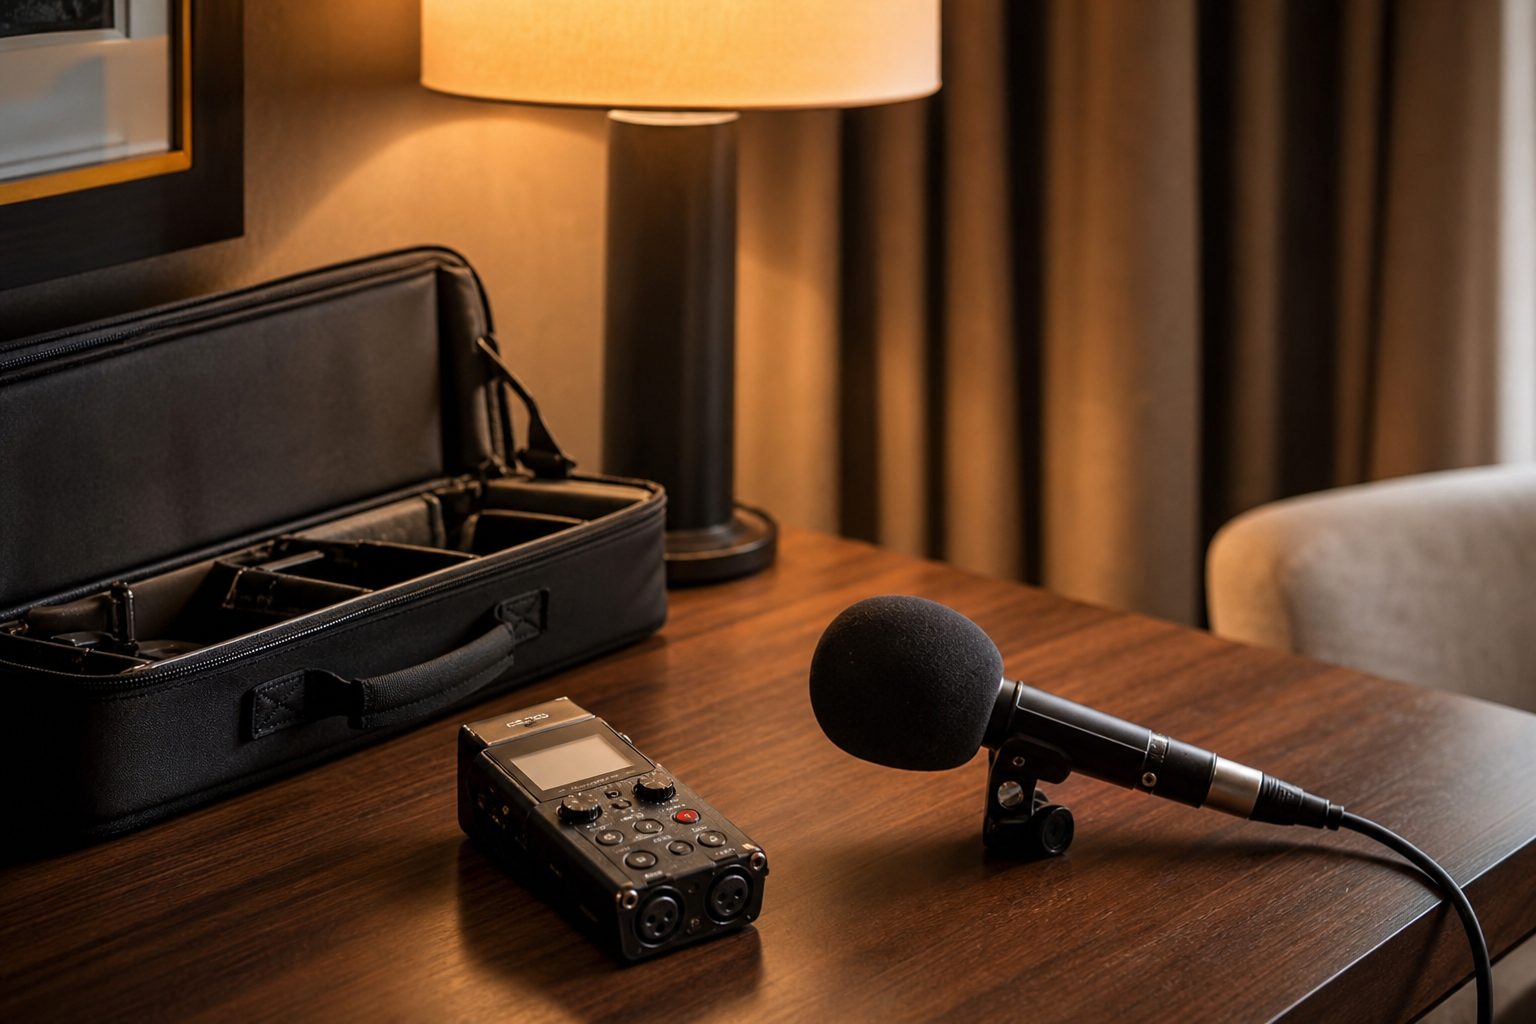
Recording in a hotel room almost never feels as simple as it should. Most hotel rooms are boxy, bare, and loaded with hard surfaces. The result: an echo you will not hear on your headphones, but you will notice when you check playback. The first tip many hosts share is the "closet trick." You and your guest cram into the closet, hang clothes around you, and crouch over the recorder. It does work, but it is rarely practical for two adults, especially if your guest is a business traveler in a suit.
What actually helps is not always obvious. The best move is to pick the softest, most cluttered part of the hotel room, usually the bed area. Spread out the extra blankets and pillows onto every hard surface you can reach. If there is an upholstered chair, use it to block sound from windows or doors. If you have a choice, avoid rooms near elevators, ice machines, or the hotel bar. These noises travel through the walls and can show up on your track, even if you do not hear them live.
Try to keep the microphone as close to your guest as comfort allows, and always do a short test recording before you start the interview in full. Listen back with decent headphones. This quick step will catch most of the worst problems, like AC hum or hallway chatter, before you commit to a full hour.
Keep reading: How to Write a Guest Questionnaire That Fills Your Prep Sheet
Corporate Offices: Glass Walls, HVAC, and Badge Rules
Corporate offices present a different set of hurdles. The glass-walled conference room is a favorite for its privacy, but those walls bounce sound right back at you. This is the classic "fishbowl" sound, with reverb you cannot fix in post. If you can, ask for an interior room with carpet and soft furniture. Boardrooms with thick drapes or any kind of wall paneling are better than open-plan glass.
HVAC and Building Noise
The next enemy is the HVAC system. Large buildings run the air at all hours, often with a low, persistent hum. You may not notice it until you check the waveform later and see the noise floor creeping up. If you can, record when the air is off or at a time of day when the office is quieter. Some hosts have luck with lav mics, which pick up less room sound, but always check if the air or lights create interference.
Security and Badge Rules
Getting in and out of offices can be its own production. Expect to sign in at the front desk, get a guest badge, and be escorted to and from the room. Some buildings require equipment check-in, and security may ask to inspect your gear. Make sure your guest knows you are bringing recording equipment, and if you use anything that looks like a broadcast antenna or wireless pack, let security know in advance. Lost time at the lobby is a top reason interviews run late or get cut short.
Trade Show Floors: Booth Noise and the Case for a Dynamic Mic
Trade show floors are the hardest place to get clean audio. Wherever you set up, you are surrounded by competing voices, music, demos, and the constant hum of people moving by. Still, expo floors are also where some of the most valuable interviews happen, especially with guests who are hard to schedule elsewhere.
The Booth as a Recording Space
If you have access to a booth, use every bit of soft display material you can find. Drape banners behind your guest, pile up tote bags or jackets on the table, and use portable sound shields if you have them. Some exhibitors will let you record in a supply closet or staff room, but this is rare. If you are working from the show floor itself, position yourself with your back to the crowd so the mic faces away from the main aisle.
Dynamic Mics and Directionality
This is where dynamic microphones shine. Unlike condensers, which pick up every nuance, a dynamic mic focuses more on what is right in front of it. This means less crowd noise and fewer unwanted sounds. Use handheld dynamics if you can, and keep them close to the mouth, six inches or less is best. Lavalier mics can work, but only if clipped close and shielded from rubbing against clothing and lanyards.
If your recorder allows, use a high-pass filter to cut out some of the low-frequency rumble. Always monitor with headphones, and check levels often, as the background noise can spike without warning, especially when the PA system fires up.
Keep reading: Double Ender vs Cloud Recording vs Zoom for Guest Audio
The Location Kit That Fits in One Backpack
Traveling light matters. Every extra cable or piece of gear is one more thing to forget or lose. A solid location kit fits in a standard backpack and covers most situations. Here is what many podcasters pack for on-the-go guest interviews.
- Two dynamic handheld microphones (with windscreens)
- Small digital recorder with XLR inputs (and backup batteries)
- Short XLR cables (three to six feet, to avoid tangles)
- Headphones (over-ear, closed-back to block noise)
- Foldable, weighted mic stands or tabletop tripods
- One or two lavalier mics (for backup or tight spaces)
- Portable power bank (USB and AC options if possible)
- Extra SD cards (always carry a spare, already formatted)
- Soft cloth or towel (doubles as a surface muffler or wind break)
- Notebook and pens for guest notes and time codes
- Gaffer tape (never duct tape for gear or cables)
For video podcasts, add a compact LED light and tiny tripod. Avoid bringing large mixers or racks unless you know the setup in advance. Every item should do double duty: towels for sound or gear padding, tape for cables or sign posting.
Before every trip, lay out the kit and repack it yourself. Never trust that the last event's bag is still ready. Label everything, and use pouches to keep cables from turning into a knot at the bottom of the bag.
Getting Twenty Seconds of Room Tone Every Time
Room tone is the easiest insurance you can take out on a location interview. When you capture a clean sample of the room's natural background sound, you give yourself flexibility in editing. You can patch gaps, smooth cuts, or mask small noises. Many editors skip this step and regret it later, especially when editing together takes from different parts of a session.
The trick is simple: before or after the interview, ask everyone to be silent for twenty seconds. Hit record, set the mics in their interview positions, and let the natural sound roll. If you forget at the start, do it at the end. It does not matter if there are small sounds, coughs, chair squeaks, since you can pick the cleanest stretch later.
Get in the habit of announcing "room tone" so your guest does not think the session is over. Some hosts nod or hold up a finger as a visual cue. In offices or hotel rooms, you may need to wait for a lull in hallway traffic or elevator dings. On trade show floors, choose the quietest moment, often early in the morning or late in the day, before teardown.
If you are using multiple mics or recording channels, make sure all of them are capturing room tone. This helps later when you need to match up the sound of different voices or locations.
See how MicPrep handles this for podcasting
Power, Batteries, and the Cards You Forgot to Format
Dead batteries and full memory cards are the most common reasons for failed location recordings. Hotel rooms rarely have enough outlets, and trade show floors almost never do. Offices may have power strips, but they fill up fast with laptops and chargers. Bring your own means of power. A small USB power bank can save the day for portable recorders or phones.
Batteries and Backups
Use fresh batteries for every major interview, or at least check levels before you start. Rechargeables are great for cost, but they lose charge faster than single-use cells. Carry spares, and keep them in a separate pouch to avoid mixing old and new.
Memory Cards and Formatting
Always format your SD cards in the recorder you will use. Cards that worked fine at home can fail if they were not formatted for the right hardware. Carry at least two spare cards, and label them with tape to avoid confusion. After every session, back up your files if you can. Laptops, cloud drives, or even a phone with an OTG reader can save you if a card gets lost or corrupted.
Power and Cables
Bring at least one long charging cable and a compact power strip. Hotel rooms and offices often hide outlets behind furniture, and the extra reach is worth the space in your bag. Some hosts carry a small extension cord with multiple USB outputs. On trade show floors, outlets may be reserved for exhibitors only, so prepare to run on battery for the whole session.
Double check everything before you leave the site. Power off gear, pack up cables, and make sure you have not left a card in the recorder or a mic on the table. Most lost gear happens during teardown, when everyone is rushing to the next event.
When to Refuse the Location and Rebook Remote
Not every location is worth the hassle. There are times when the noise, interruptions, or logistics make a usable recording impossible. The classic example is the open lobby: too much foot traffic, echo, and unpredictable sound. Outdoor cafes, hotel bars, and expo hallways are just as bad. If you cannot establish control over the immediate area, consider rescheduling.
Always check with your guest if you need to change plans. Most guests understand that a bad recording helps no one. Offer a remote interview as a backup, using a platform both of you know and trust. Make it clear that you want to give them the best possible result.
A remote interview is sometimes the only way to get a good track. If the guest is traveling, suggest recording from their hotel room or office when it is quiet. If all else fails, reschedule for a later date. A lost opportunity is better than a ruined episode that does not meet your standards.
Location interviews always involve trade-offs. With the right kit, thoughtful preparation, and realistic expectations, you can get the best possible audio in the field. The easiest way to avoid missed steps is to have a clear routine: a structured pre-interview checklist, a guest questionnaire, and prep notes you can pull up right before you hit record. Tools that assemble these details for you can make the chaos of location recording much easier to manage.
Next up The Green Room
Read also
How to Write a Guest Questionnaire That Fills Your Prep Sheet
A guest form only earns its place if the answers turn into questions. Here is the field list that produces a usable prep sheet, when to send it, and how to chase the bio and headshot without nagging.
Double Ender vs Cloud Recording vs Zoom for Guest Audio
Three ways to capture a remote guest, and three different failure modes. What a double ender, a cloud recorder, and a plain video call each do to your audio, your workload, and your guest's patience.
Eight Guest Booking Mistakes That Cost a Weekly Show an Episode
The episodes that fall apart rarely fail in the edit. They fail in the booking, the confirmation, and the ten minutes before the record. Here are the eight failures that cost a weekly show its slot.